Start here
Securing your first proxy
This tutorial continues exactly where Your first delta savings left off: a proxy running on localhost:9000 in open-access mode, with a releases bucket holding two firmware versions.
Right now, anyone who can reach port 9000 can read, overwrite, or delete everything in that bucket. That was fine for a first look; it's not fine for anything else. By the end of this tutorial the proxy will have an admin password you chose, S3 requests will require real credentials, Acme's CI pipeline will have its own key that can write firmware builds and nothing else — and you'll have watched the brute-force rate limiter slam the door on a password-guessing attack.
Step 1: set your own admin password#
In tutorial 1 we ran with DGP_AUTHENTICATION=none, so there's no admin password yet — the proxy is wide open. Before we turn authentication on, let's set a bootstrap password we control. The mechanism is the --set-bootstrap-password flag, which reads a password from stdin and writes its bcrypt hash onto our data volume. (Had we started with auth enabled instead, the proxy would have generated a random one and printed it once — but only to an interactive terminal; we're setting our own either way.)
Stop the running proxy first: press Ctrl+C in the terminal where the container is running.
Now set the new password (pick your own — 12 characters minimum):
printf '%s\n' 'acme-rocks-mauve-42' | docker run --rm -i -v dgp-data:/data \
  beshultd/deltaglider_proxy --set-bootstrap-password
You should see a confirmation, plus a warning we're about to take care of:
⚠ WARNING: If an encrypted IAM database exists, it will become
  unreadable on next restart (encrypted with the old password).
  All IAM users will be lost. The proxy will return to bootstrap mode.

Bootstrap password hash written to .deltaglider_bootstrap_hash

For Docker/env vars (base64, no escaping needed):
  DGP_BOOTSTRAP_PASSWORD_HASH=JDJiJDEyJ...
That warning is real: the first run created an empty IAM database encrypted with the old password. We have no users in it yet, so we simply clear it before it can confuse the next start:
docker run --rm -v dgp-data:/data --entrypoint /bin/sh \
  beshultd/deltaglider_proxy -c 'rm -f /data/deltaglider_config.db*'
Start the proxy again — same command as before, still in open mode for a few more minutes:
docker run --rm -it -p 9000:9000 -v dgp-data:/data \
  -e DGP_AUTHENTICATION=none \
  beshultd/deltaglider_proxy
Notice there's no password box in the logs this time — the proxy found our hash on the volume and used it.
Now prove the password works. Open http://localhost:9000/_/admin. You should see a login gate that says Enter the bootstrap password to continue. Type acme-rocks-mauve-42 (or whatever you chose) and sign in — the Settings area opens, with a navigation sidebar on the left. Stay here; the next two steps live in these screens.
Step 2: require S3 authentication#
Time to close the open door. In Settings, go to Access → Credentials & mode.
- Under S3 authentication mode, select Auto-detect (recommended) — authentication is required whenever credentials are set.
- Under the bootstrap credentials, fill in:
- Access key ID:
acme-admin - Secret access key:
correct-horse-battery-staple-acme-1
- Access key ID:
- An Unsaved changes bar appears at the bottom of the page — click Apply, then Apply and Persist in the confirmation dialog.
The change is live immediately, no restart. Let's prove it from the second terminal, where the dummy credentials from tutorial 1 are still exported:
aws --endpoint-url http://localhost:9000 s3 ls
An error occurred (AccessDenied) when calling the ListBuckets operation: Access Denied
The dummy credentials that sailed through an hour ago are now rejected at the front door. Switch to the real pair and try again:
export AWS_ACCESS_KEY_ID=acme-admin
export AWS_SECRET_ACCESS_KEY=correct-horse-battery-staple-acme-1

aws --endpoint-url http://localhost:9000 s3 ls
2026-06-12 10:31:02 releases
Same proxy, same bucket — but now only signed requests with the right key get in.
Step 3: create the ci-uploader user#
One shared credential is better than none, but Acme's CI pipeline shouldn't hold the keys to everything. Let's give it its own identity, scoped to the firmware folder.
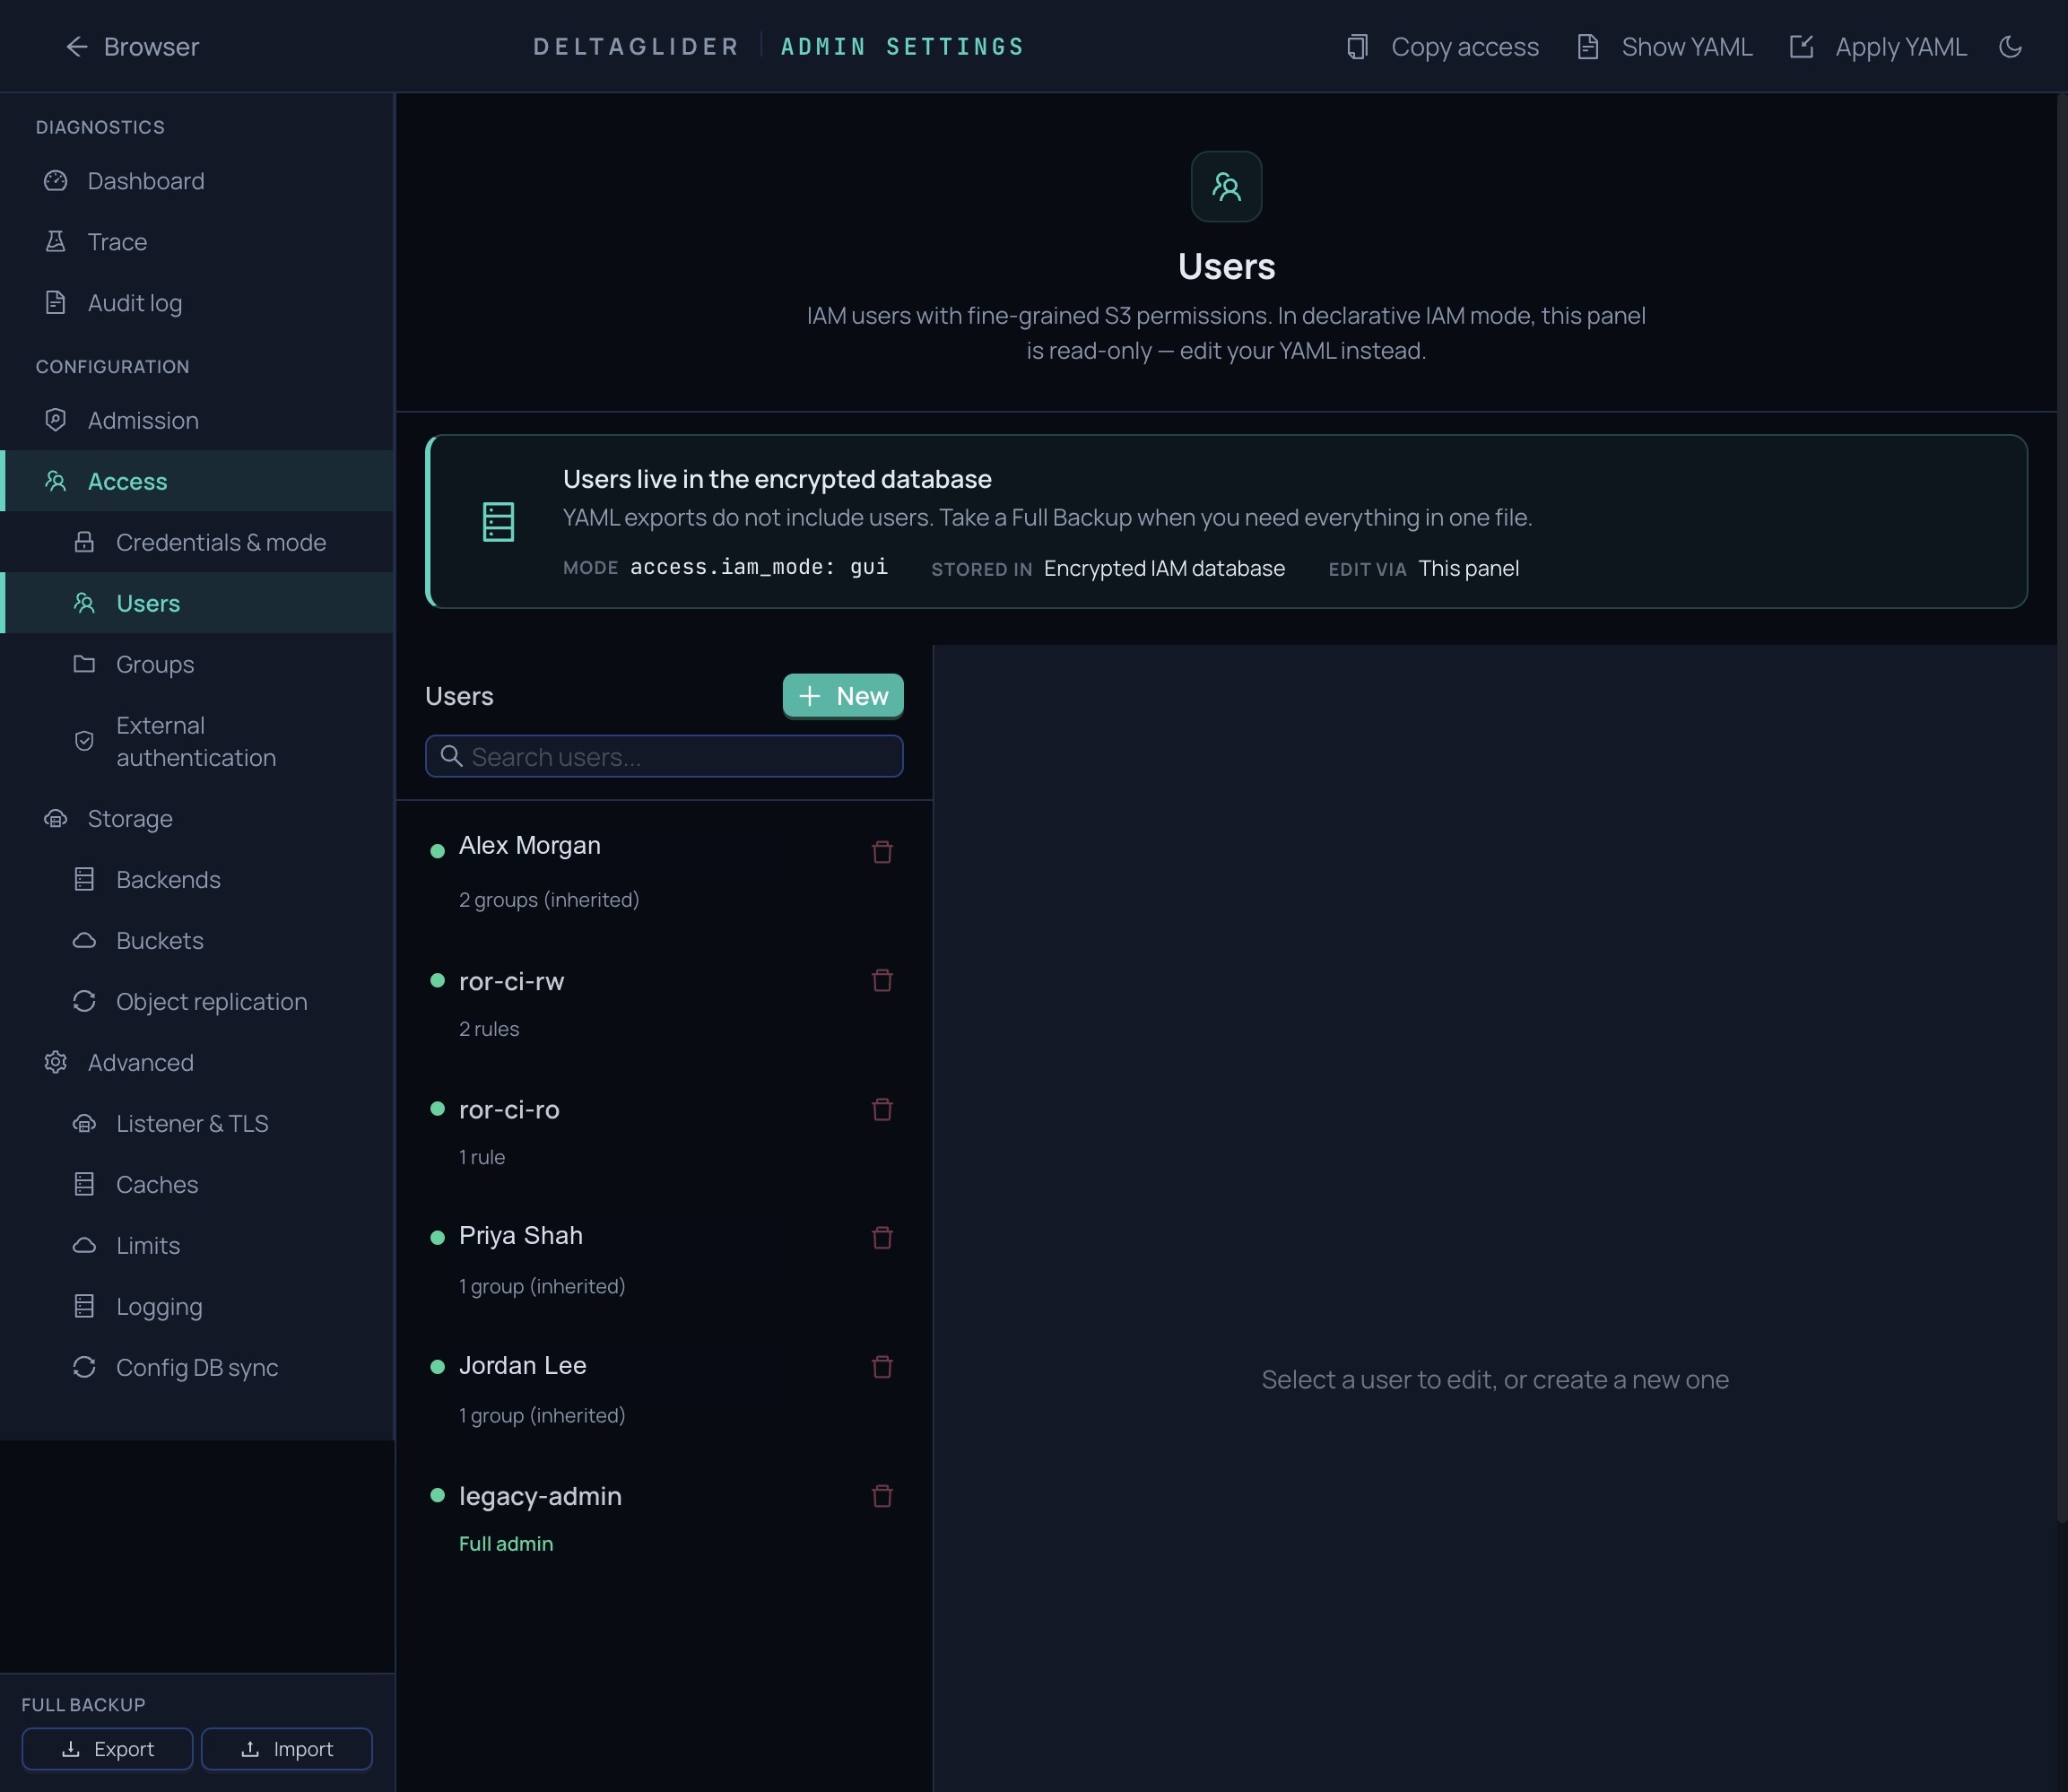
In Settings, go to Access → Users. Because no IAM users exist yet, you'll see a Set Up IAM button — notice the note next to it: your current credentials will be migrated automatically as an admin user, so nothing you just set up breaks. Click it.
In the user form:
- Name:
ci-uploader. - Leave Access key ID and Secret access key blank — they'll be auto-generated.
- Edit the pre-filled permission rule: keep Effect on
Allow, set Actions toread,write,list, and Resources toreleases/firmware/*. - Click Create User.
You should see a green notice: User created — save these credentials, showing the generated access key and secret. Copy both now — the secret is shown only this once.
Notice the user list: ci-uploader shows 1 rule, and a second row, legacy-admin, shows Full admin — that's your acme-admin credential pair, carried over as a proper IAM user.
Step 4: verify least privilege#
A permission rule you've only seen succeed is half-tested. We'll do both halves: prove ci-uploader can write firmware, then prove it can't write anywhere else.
In the second terminal, switch to the new credentials (paste your generated pair):
export AWS_ACCESS_KEY_ID=AK...your-generated-key...
export AWS_SECRET_ACCESS_KEY=...your-generated-secret...
Inside the granted prefix — allowed:
aws --endpoint-url http://localhost:9000 \
  s3 cp fw-1.4.1.tar s3://releases/firmware/widget-3000/fw-1.4.1-rc2.tar
upload: ./fw-1.4.1.tar to s3://releases/firmware/widget-3000/fw-1.4.1-rc2.tar
Outside the granted prefix — denied:
aws --endpoint-url http://localhost:9000 \
  s3 cp fw-1.4.1.tar s3://releases/private/fw-1.4.1.tar
upload failed: ./fw-1.4.1.tar to s3://releases/private/fw-1.4.1.tar An error
occurred (AccessDenied) when calling the CreateMultipartUpload operation:
AccessDenied: Access Denied
(The operation name varies with file size — the CLI uploads a file this big as a multipart upload. The AccessDenied is the point.)
Same bucket, same credentials — the only difference is the path, and the path is outside releases/firmware/*. That AccessDenied is the sound of least privilege working.
Step 5: watch the rate limiter#
One more defense is already on duty: the brute-force rate limiter on the admin login. Let's attack ourselves and watch it engage. Fire twelve wrong passwords at the login endpoint:
for i in $(seq 1 12); do
  curl -s -o /dev/null -w "attempt $i: HTTP %{http_code}\n" \
    -X POST http://localhost:9000/_/api/admin/login \
    -H 'content-type: application/json' \
    --data '{"password":"definitely-wrong"}'
done
attempt 1: HTTP 401
attempt 2: HTTP 401
...
attempt 10: HTTP 401
attempt 11: HTTP 429
attempt 12: HTTP 429
Notice the switch after attempt 10: the first failures get a plain 401 Unauthorized, then the per-account lockout engages and everything — even a correct password — gets 429 Too Many Requests. An attacker gets ten guesses an hour, not ten thousand a second.
Your existing browser session is untouched (you're already signed in), and the lockout expires on its own. If you want it gone right now, restart the container — the limiter's counters live in memory.
What you built#
Take stock of what is now true about this proxy, none of which was true an hour ago:
- The admin password is one you chose, stored only as a bcrypt hash on your volume.
- Every S3 request must carry a valid SigV4 signature — anonymous access gets
AccessDenied. - CI has its own credential,
ci-uploader, that can read, write, and list underreleases/firmware/*and is denied everywhere else. - Your admin credential survived the switch to IAM as
legacy-admin. - Password guessing against the admin login is rate-limited to uselessness.
Where next#
- Go to production — TLS, backups, monitoring, and the rest of the checklist between here and real traffic.
- Set up OAuth/OIDC single sign-on — let humans log in with Google or any OIDC provider instead of managing their keys by hand.
- About the security model — why the layers (admission, SigV4, IAM, rate limiting) stack the way they do.